**This post may contain affiliate links. If you make a purchase using the links in this article, I might earn a commission at no extra cost to you. Please see my full disclosure for further information.
 If you’re looking to reach some amazing viewpoints in the Dolomites without having to spend the whole day hiking, the Gran Cir via ferrata just might be your answer.
Considered an easy via ferrata in the Dolomites and moderate hike-level, the Gran Cir via ferrata is a great compromise for those confident hikers wanting to approach the world of the via ferrata. The secured passages aren’t all that challenging, but the hiking portion (especially in the descent) presents some tricky footing given slippery and uneven terrain/rocks. Because of this, I would not recommend the hike to novice hikers, but it’s a great first approach to climbing a via ferrata for those more experienced hikers.
In just over an hour and a half, you’ll be rewarded with some of the most gorgeous mountain views at the Gran Cir summit!
If you’re a novice, you can still enjoy magnificent views of the Sella Group mountains WITHOUT climbing Gran Cir – see below for your alternative options.
If you’re an advanced hiker and seasoned climber, you can increase the challenge by adding the Piccolo Cir via ferrata to your day excursion.
Before getting into the actual step-by-step description of the route, I think it’s useful to first cover some of the following important questions. This way you have all the information to decide whether the Gran Cir via ferrata is suitable for you.
If you’re only interested in the route description, you can skip to the step-by-step section below.
Post Contents
Gran Cir Via Ferrata FAQ
Can small kids do the Gran Cir Via Ferrata?
No. I’ve seen kids as small as seven years old on the climbing route, but they were securely fastened to their father (and the father was an extremely seasoned climber). As a general rule I would only advise the hike to children over the age of twelve or to those that are well versed in climbing on loose rocks and have excellent footing.
Does that mean you won’t be able to enjoy the views if you have small kids (or won’t be climbing)? No!
Not all portions of the hike in Gran Cir are unsuitable for kids!
Alternative Option for Small Kids or Novice Hikers – getting spectacular views without having to climb!
As you will see in my step-by-step section below, not all portions of the hike entail climbing or challenging footing.
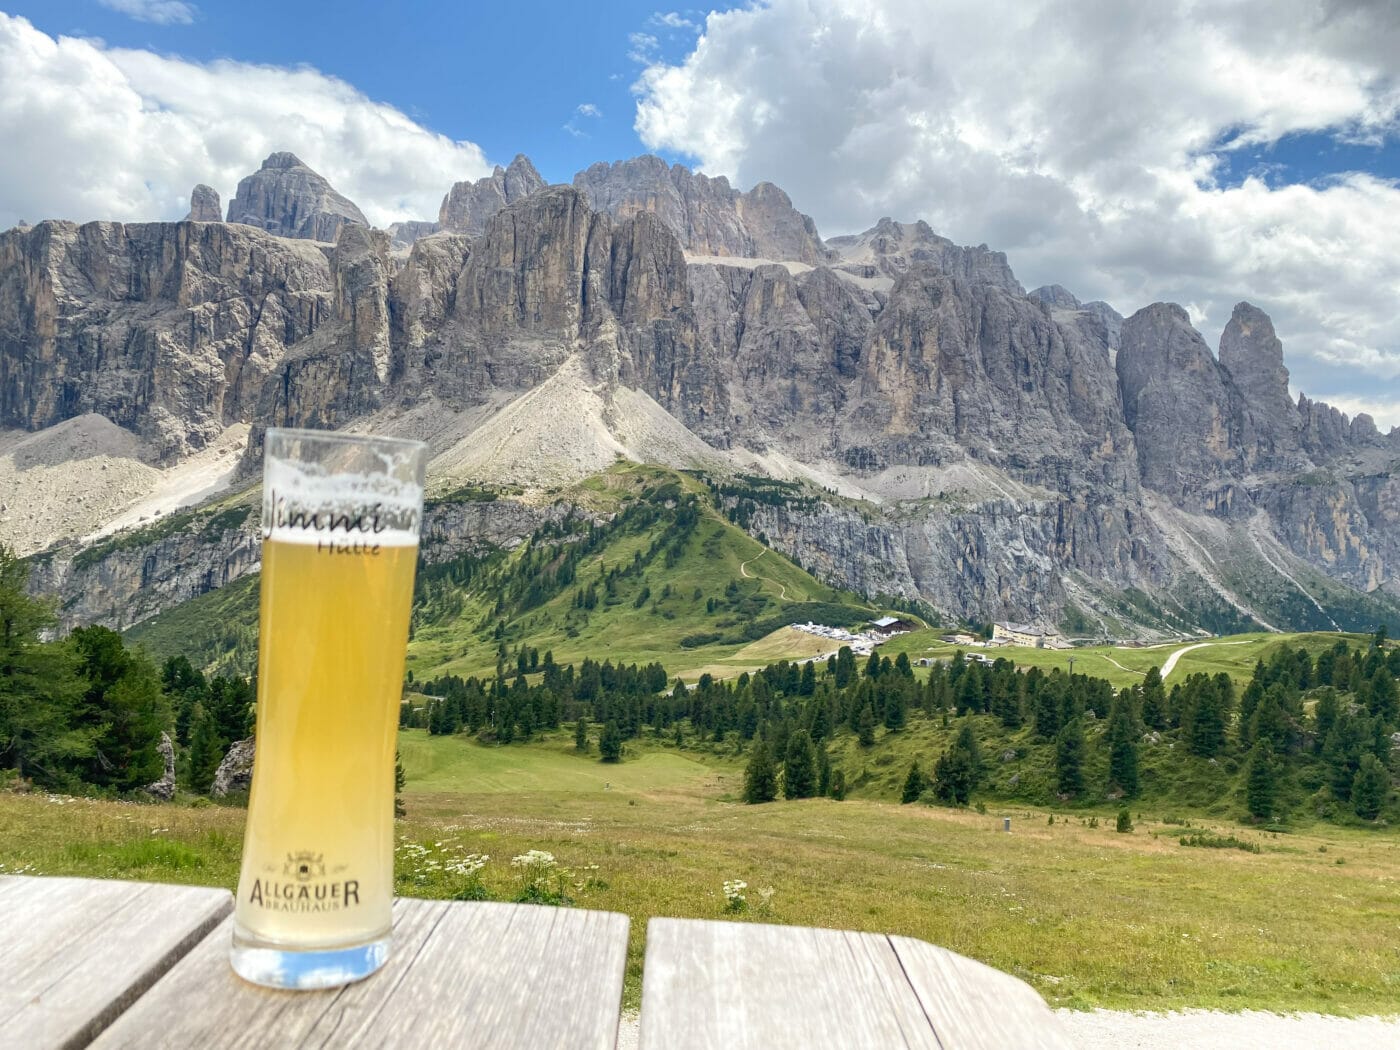
If you are traveling with small kids, afraid of heights, a novice hiker, or you just don’t have the right gear, in 25 minutes you can still enjoy some of the most spectacular views of the Sella Group JUST BY WALKING up to Rifugio da Jimmy (Jimmi Hütte). This mountain hut also happens to have a fantastic outdoor playing area complete with trampoline, slide, and sandbox (perfect for small children!)
From Rifugio Jimmi, you can either opt to finish your walk here and have lunch or, continue on trail 12A for another 20 minutes or so, all the way to Rifugio Dantercepies. Here you can eat at the renowned Dantercepies Mountain Lodge Restaurant.
This makes for the perfect family excursion, complete with jaw dropping views. Yes, you didn’t get to the Gran Cir summit or get to try your hand at the climbing portion of the hike, but you still got to see some amazing scenery.
Is the Gran Cir via ferrata suitable for people who are afraid of heights?
I wouldn’t recommend it. Although the Gran Cir ferrata is not really exposed, there are a couple of moments at the summit and during the descent that could disturb someone who is afraid of heights.
Can I bring my dog to the Gran Cir summit?
I wouldn’t recommend it. Although it is not forbidden (there were two small dogs at the summit when we completed the via ferrata), there are portions of the climb where the rocks are pretty loose and slippery. I was very worried the dogs would get injured or slip.
You can, however, still bring your dog up to Rifugio Jimmy – there are absolutely no safety concerns up to that portion of the hike.
What Hiking Gear do you need for Gran Cir?
One of the most commonly asked questions is what hiking gear you will need to complete the via ferrata in Gran Cir.
As a rule of thumb, it is always a good idea to have a complete via ferrata kit with you. Depending on the difficulty of the via ferrata, you might not use all of the equipment, but it is a good idea to always have everything you might need with you.
A via ferrata kit will include:
- Helmet
- Climbing Harness
- Ferrata Kit / Ferrata Lanyard
- Snap Hook Carabiners
- Climbing Gloves
What we wore
Both Pietro and I are very well seasoned in via ferratas having climbed the difficult and adrenaline-fueled Tridentina via ferrata in nearby Pisciadù.
As such, we feel very confident with footing, balance and uneven terrain. As a result, we did not feel the need to use our lanyards and carabiners, but we nevertheless had our complete kits with us in our backpacks just in case.
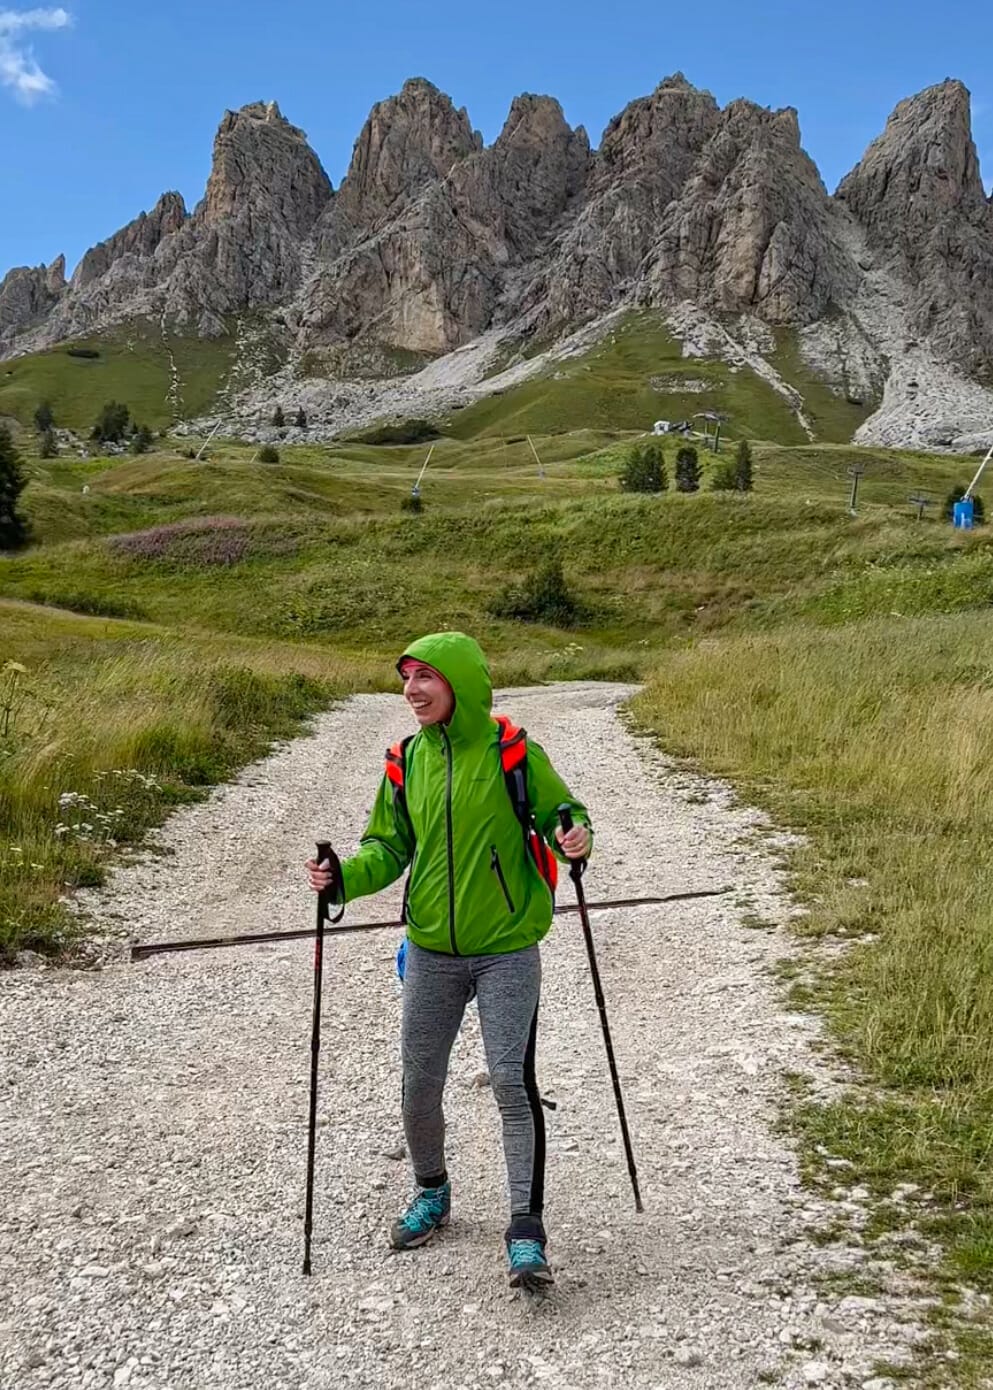
We also wore our helmets and made sure we were wearing sturdy hiking boots. It is absolutely vital to have hiking boots (NOT shoes) with good traction and toe/heel protection. Also, a helmet is a MUST – falling rocks are much more common than you think!
Please Note: we are in no way suggesting you should not wear a harness and lanyard. It is your responsibility to determine based on your expertise what equipment you will need to use to remain safe. If you are not experienced in via ferratas, it is best to use every piece of your kit – better safe than sorry right?
Also, you might want to consider bringing hiking sticks to help with balance and to relieve downhill knee pressure. If you have bad knees (ahem… that’s me) or are not used to steep descents, you might want to go a step further and bring knee braces as well. I usually always wear mine but underestimated the Gran Cir descent and left them at my hotel. My knees were NOT happy!
So now that I’ve freaked you out with warnings, you’re probably wondering if the Gran Cir via ferrata is even doable for you!
So just how hard is the Gran Cir via ferrata?
There are actually only two sections on this via ferrata that can actually constitute as a climbing route. In these sections you will find fixed cables that according to your experience you can either latch onto with your carabiners or hold onto for added safety/support. These two passages are not particularly difficult.
The rest of the via ferrata is like a “normal” hike. However, just because it’s a normal hike doesn’t mean it’s easier. A good portion of the ascent is steep, and the terrain, especially on the descent, can get quite slippery. This means footing can get quite complex if you’re learning or are a beginner hiker.
Because of this, I wouldn’t recommend this via ferrata if you’re a beginner hiker or are not comfortable with footing, weight distribution and balance.
When is the Best Time to hike the Gran Cir Via Ferrata?
Because you can get snow as late as the end of May and as early as late September, I recommend you only go from mid-June to mid-September. Any month or time outside of that can be dangerous as ice and frost can still form (a huge safety hazard for a via ferrata!)
July and August are your safest months as trails are definitely accessible and temperatures not too cold. You will get more crowds, but you’re guaranteed to have better hiking conditions. We went in late July and started our hike around 9a.m. (which is considered late) and still found the crowds manageable and unbothersome.
What temperatures should I expect?
Obviously, this will depend on the month you are visiting, but Passo Gardena (the trailhead) sits already at a high altitude of 2,136 meters. We did the route in late July and were surprised at how low the temperatures were at the trailhead before we even started our hike. It was about 12C (53F) at the parking lot, not to mention the wind chill factor! Up at the summit it was significantly colder.
| Month | Temp: High/Low |
| June | 14°C (57°F) / 2°C (36°F) |
| July | 16°C (61°F) /4°C (40°F) |
| August | 15°C (59°F)/ 4°C (40°F) |
| September | 11°C (52°F)/ 0°C (32°F) |
Source: NOAA
Always be prepared for cold temperatures and have warm clothing plus a windbreaker and rainwear in your backpack. Also have a change of dry clothes (not sweaty) for your descent. Being cold ruins an experience!
Are there places to eat near Gran Cir?
YES! There are several to choose from.
You can eat down near the parking at Rifugio Frara or if you’re staying at Hotel Cir you can eat back at the hotel (only breakfast or dinner I believe).
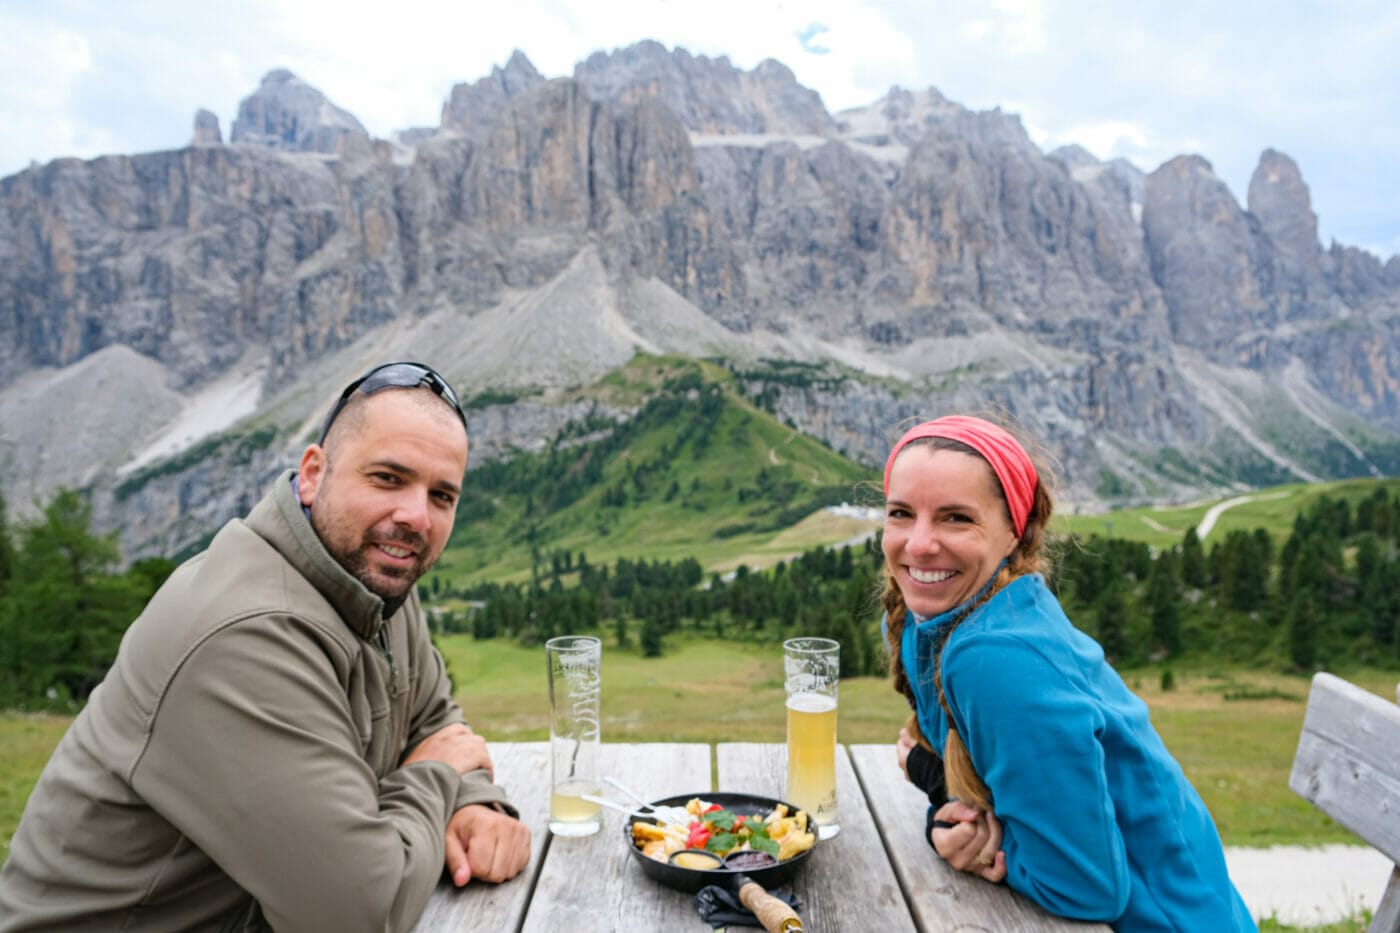
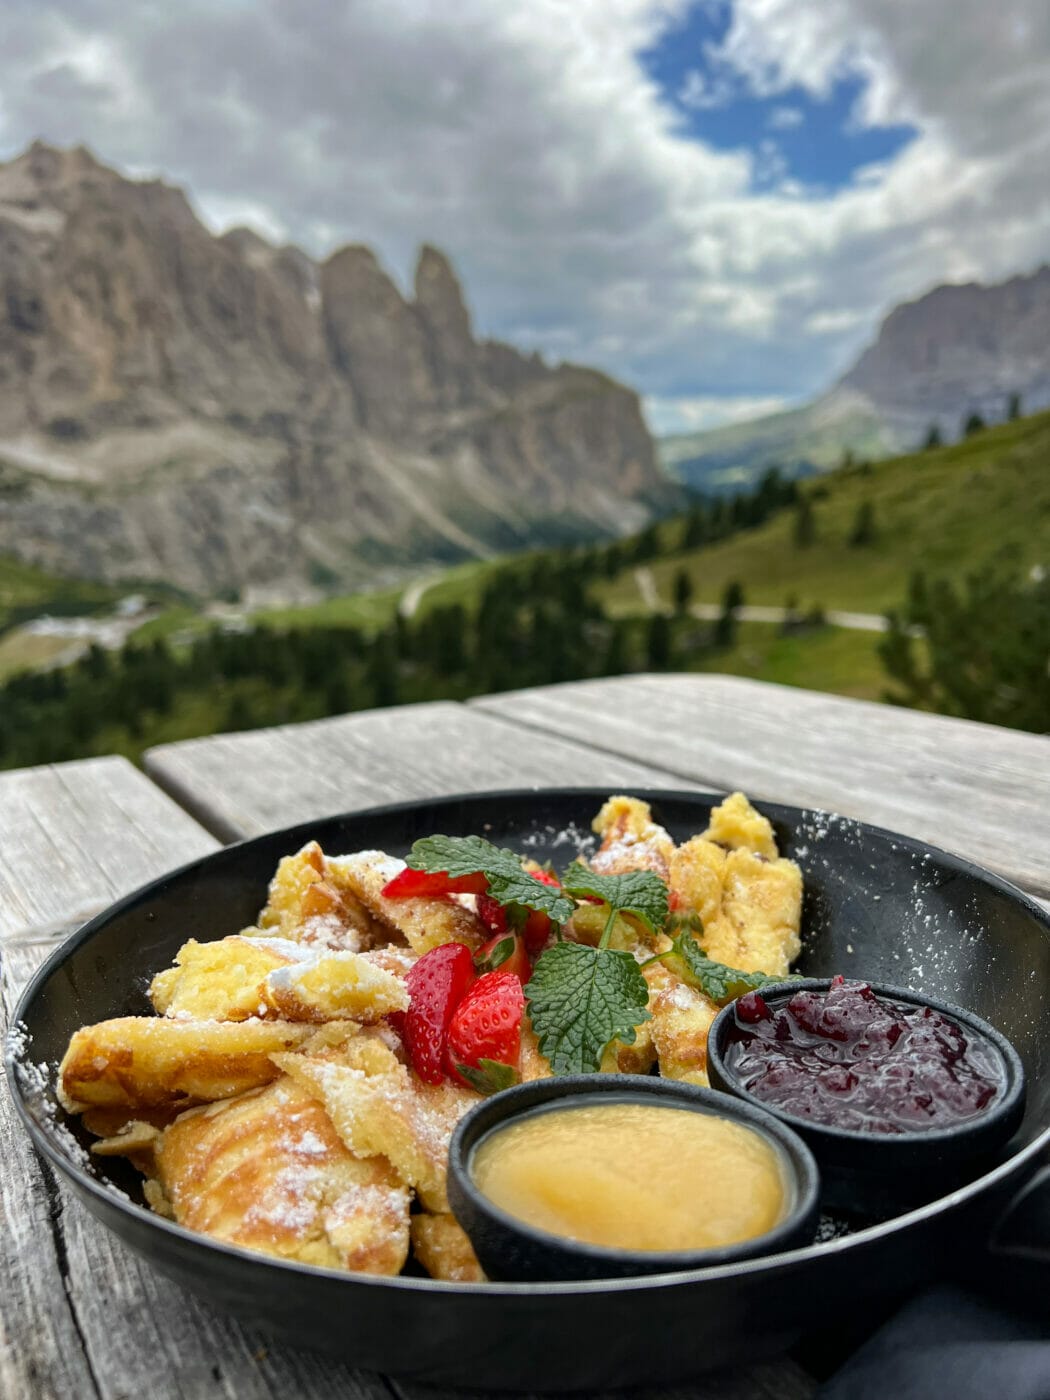
If you want to eat out while on the hike, you can choose from Rifugio da Jimmi, Rifugio Dantercepies or Rifugio Panorama. We opted for Rifugio da Jimmy!
Where is the Gran Cir via ferrata starting point?
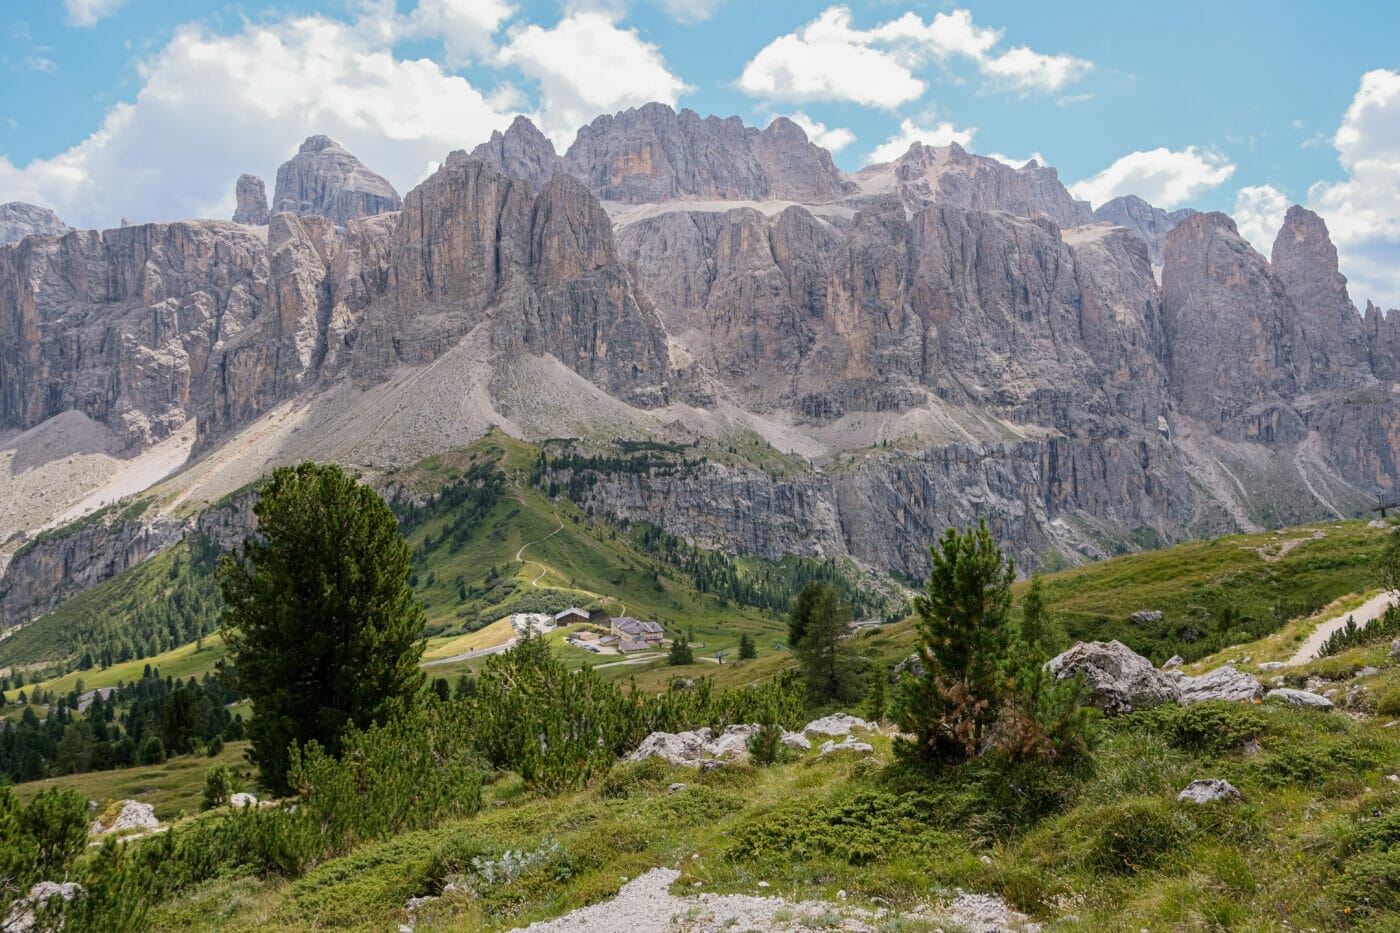
The trailhead for the Gran Cir via ferrata is Passo Gardena (Grödnerjoch in German or Jëuf de Frea in Ladin). This unbelievably stunning mountain pass connects the Val Gardena with the Val Badia.
If, however, you’re planning to take a cable-car into the area, you will be leaving your car a bit further. In the How to get to Passo Gardena section below, I cover both how to get to Passo Gardena and what directions to follow if you will be taking public transportation or a cable-car.
Can I fly a drone in Gran Cir?
NO! The Dolomites are a UNESCO World Heritage Site and as such are protected. Flying a drone is prohibited. Violators can be fined, and their devices confiscated!
How to get to Passo Gardena
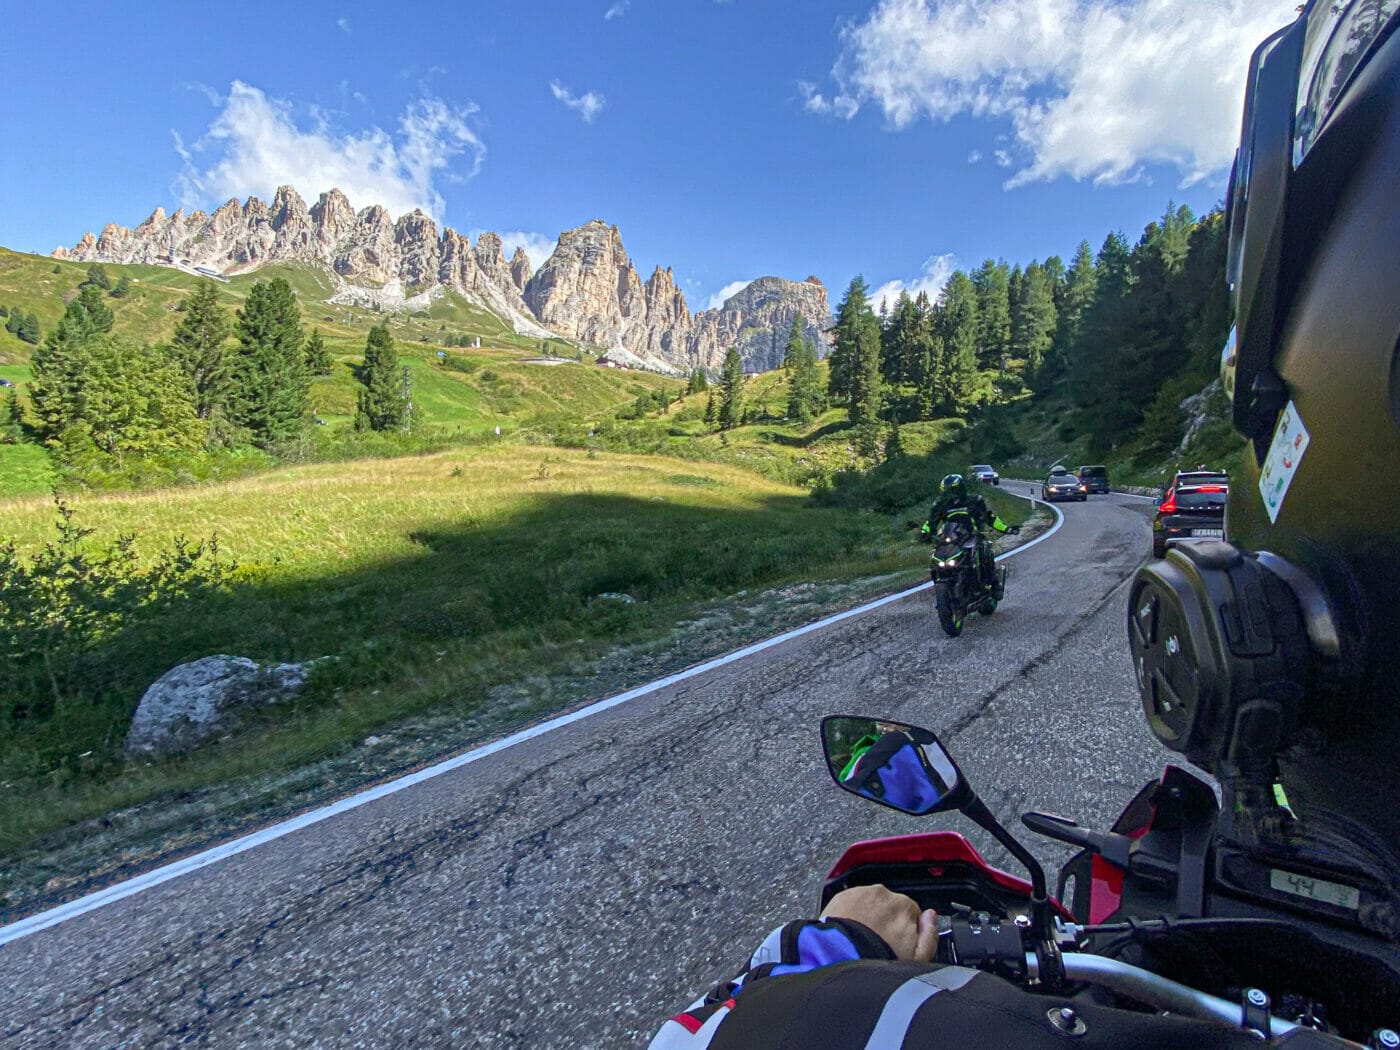
Getting to Passo Gardena is very easy. Because of its unparalleled beauty I highly recommend you drive yourself there via car or via motorcycle. We drove in with our motorcycle (BTW motorcycles don’t pay for parking!) and the drive was just epic!
Snaking between the massive Sella Group and Cir Group mountain ranges, the views are just out of this world. It is no wonder that Passo Gardena in the Summer is considered a cyclist’s and biker’s paradise.
- YOU MIGHT ALSO BE INTERESTED – Spectacular Cross-Border Bike Path in Val Pusteria (great for kids too!)
By Car, Motorcycle, or Camper Van
Getting to Passo Gardena by car is super easy. Just type into your GPS “Gardena Pass” and you’ll be led to Rifugio Frara. The paid parking is adjacent to the rifugio. Spots can fill up very quickly (especially for campers— there are only a handful or so accepted into the parking), so plan to arrive early (before 9a.m.)
Motorcycles can park for free on the other side of the rifugio in the designated motorcycle parking spots (right next to the parking area reserved for Rifugio Frara.)
By Bus
Getting to Passo Gardena by bus is only possible during the summer months (mid-June to mid-September) via line 473. Check updated time schedules and stops here.
By Cable Car
If you don’t want to drive into Passo Gardena, you can take two different cable cars routes to hike the Gran Cir via ferrata.
From Colfosco (Kolfuschg): take the Plans and Frara cablecars – you will get off right at Rifugo da Jimmy. See directions below on how to continue the hike from Rifugio da Jimmi.
From Selva di Val Gardena (Wolkenstein in Gröden): take the Dantercepies cablecar and proceed on the 12A trail until you get to the Gran Cir Trail junction where you will be starting your ascent on the left. From here follow the same instructions as below from section 2 – Ascent.
Gran Cir Via Ferrata Route – Step by Step Guide
And finally… we get into the exact directions you will need to complete the Gran Cir via ferrata starting from Passo Gardena
I have divided the hike into 3 main sections. The first section is suitable for small children and dogs as it doesn’t involve any climbing or challenging footwork. The last two sections are NOT suitable for either as there is climbing involved.
Where to Park: Next to Rifugio Frara (paid) €
Hike Difficulty: Moderate
Elevation Difference: 475 meters
Duration: At least half a day
When to go? Summer (mid-June to mid-September)
Suitable for Children? Not recommended for small children
Suitable for Dogs? Not recommended as trail is exposed
Good Base Towns: Ortisei, Santa Cristina, Selva di Val Gardena, Colfosco, Corvara, Badia
1. Frara Parking to Gran Cir Trail Junction (suitable for small kids and dogs)
*Skip to the next section if you’re coming in by cable car.
As indicated previously, the hike starts at Passo Gardena. From the rifugio Frara parking lot you are going to cross the road (SS243) and head up on the paved road to the left of Hotel Cir (Trail 2) – you’ll see a sign with all of the trails (see pic below). Once you reach Hotel Cir (it will be on your right), you will continue on an easy slightly uphill dirt path for about 25 minutes following signs for Rifugio da Jimmy. You will see Rifugio Jimmy appear on your left.

For those of you who have small children or will not be completing the climbing part of the hike, Rifugio Jimmy is a great place for the kids to play at or for you to take the views in. For those of you completing the entire via ferrata, I suggest you stop here on your way back so you can relax and take your time.
From Rifugio Jimmy you will continue up the dirt track leaving the mountain hut behind you and to your left. You’ll almost immediately reach a crossroads where you will turn left onto trail 12A towards Dantercepies. After about 10 minutes you’ll see the Gran Cir sign on your right. This is the Gran Cir trail junction. From here I don’t advise small children or kids to proceed with the ascent.
2. Ascent: Trail Junction to Gran Cir Summit (NOT suitable for small kids and dogs)
*if arriving from Dantercepies cable car, you will be coming from the opposite side and so will see the Gran Cir sign on your left at the trail junction.
The hike from the trailhead junction to the summit takes about 1 hr. Initially, the hike starts on an uphill dirt path that progressively gets rougher and rockier as the Cir mountain wall gets closer. Once you’re hiking on rocks and gravel, follow the red dots to stay on path.
After about 15 minutes you’ll reach the first climbing portion of the via ferrata to your right. You’ll find a steel cable fixed into the mountainside. Based on your level of expertise you can decide whether to use your climbing harness, lanyard and carabiners to latch onto the cable or to just hold onto for added support if you are more experienced.
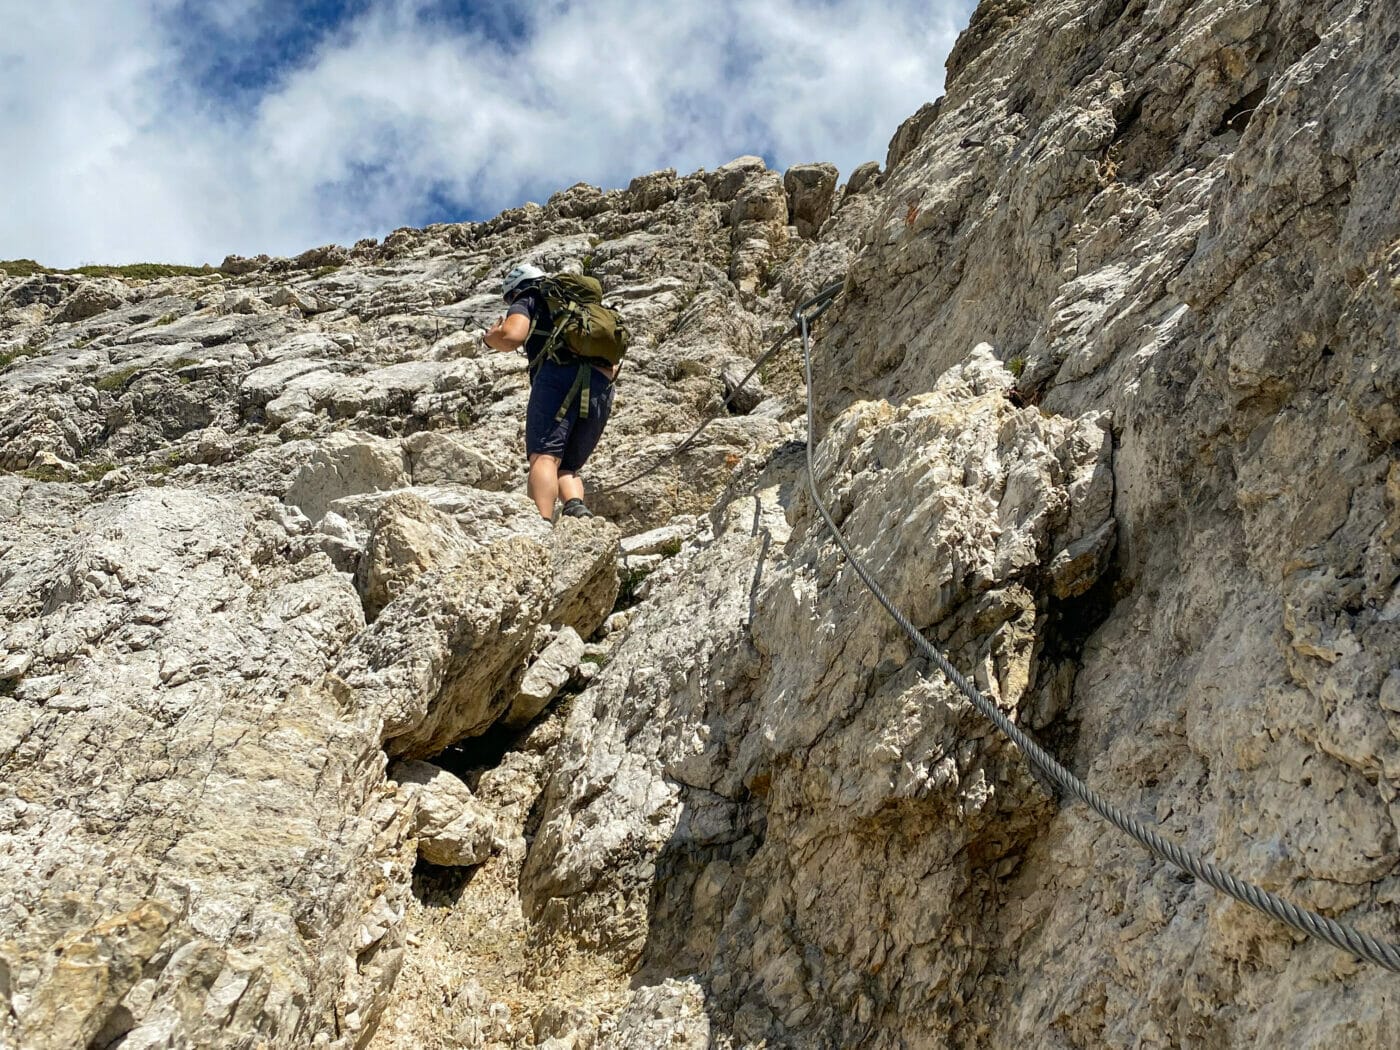
Once you reach the end of the steel cable, the hike proceeds up a series of steep rocky switchbacks before coming to the second and final climbing portion of the Gran Cir via ferrata. Again, latch or hold onto the cable as you climb up. If you move slowly and pay attention to loose and slippery rocks, the overall via ferrata (climbing portion of the hike) is not complicated.
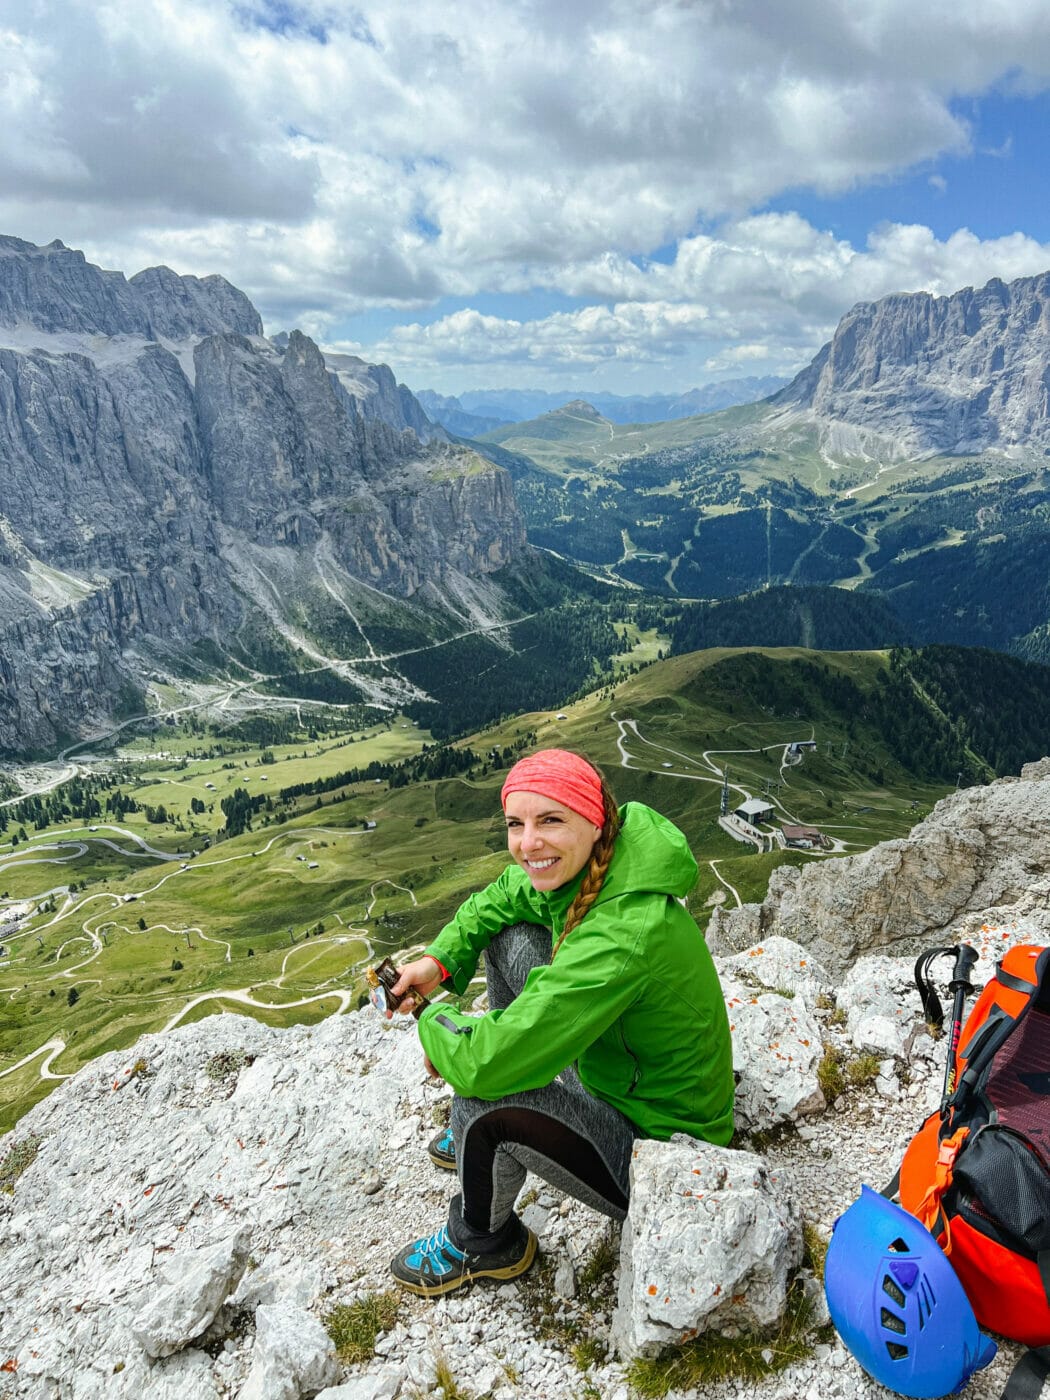
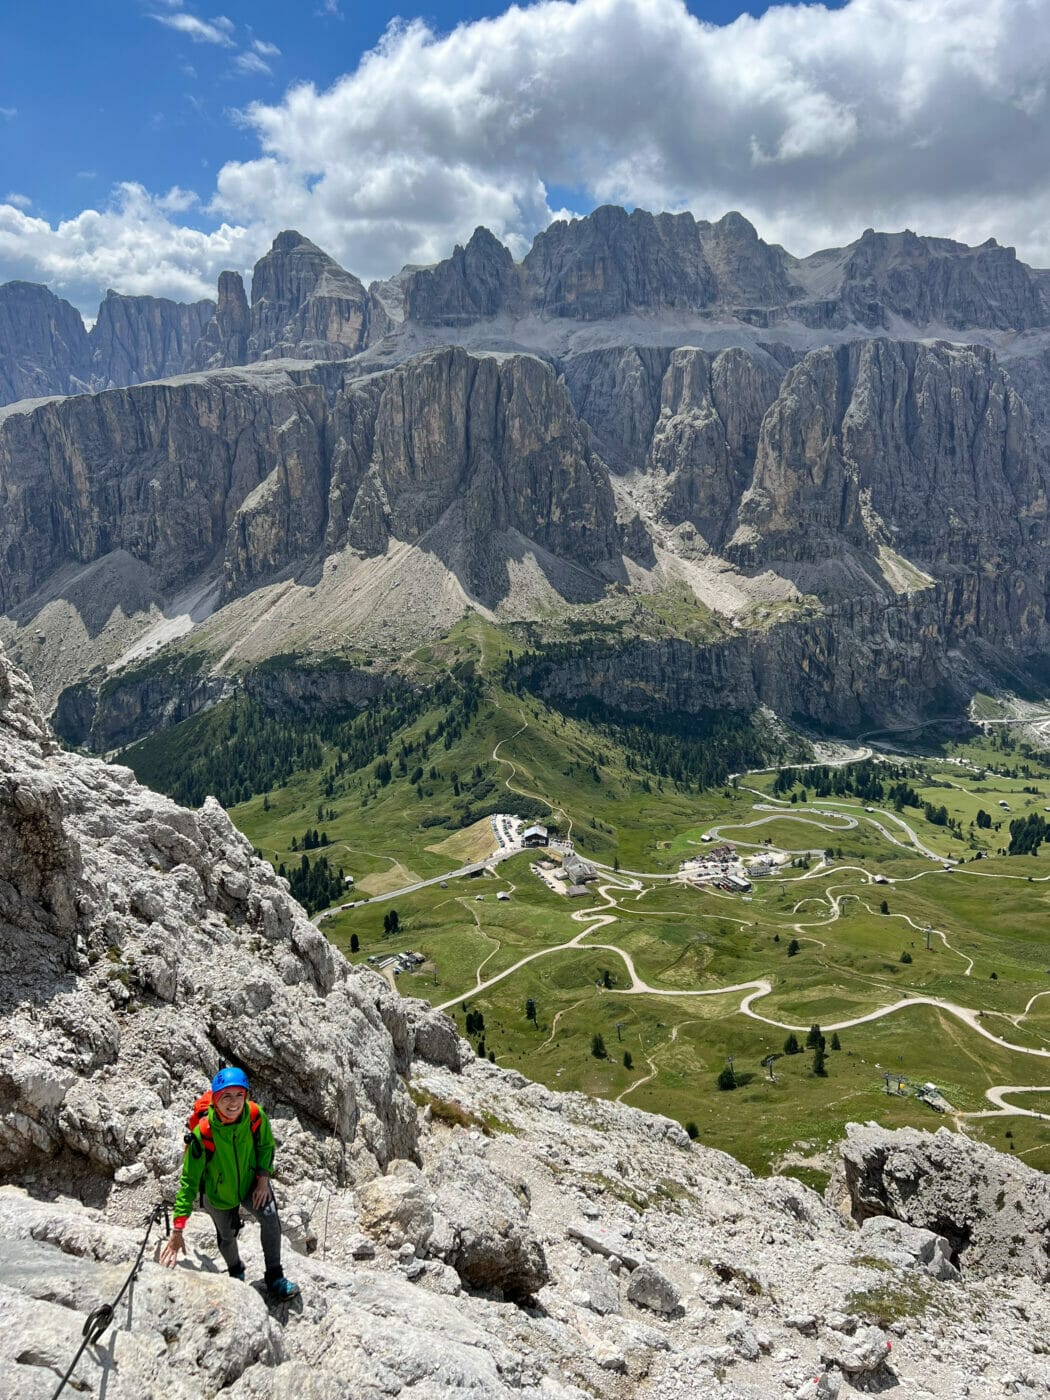
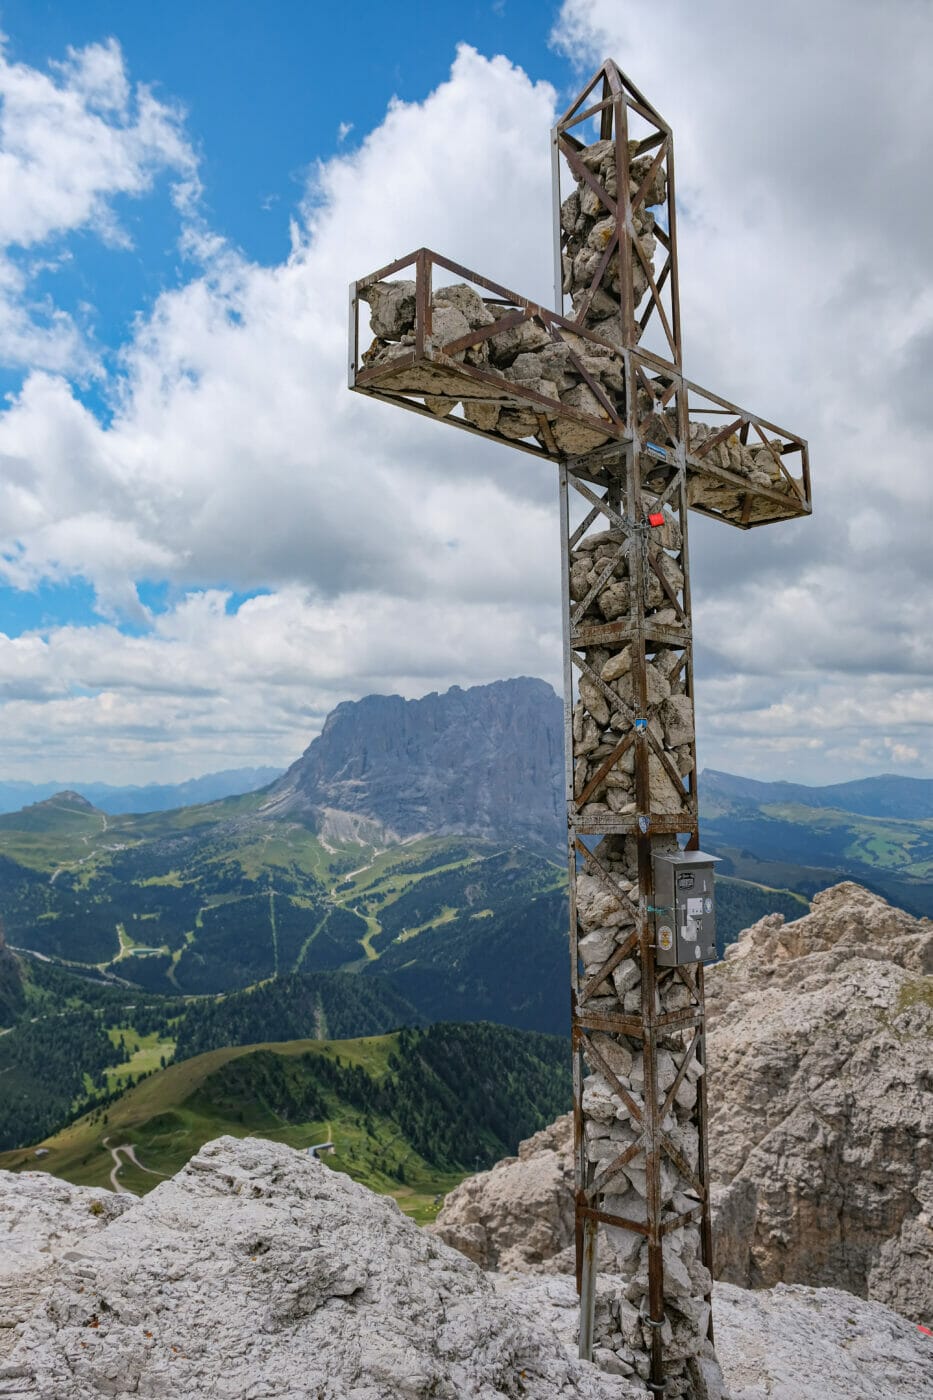
Once the cable ends you will continue hiking on a rocky path up until you reach the summit cross. You did it!
From here enjoy the 360-degree mountain views. At 2,592 meters and from one single spot you’ll be rewarded with the sights of the Sella Group (Gruppo Sella/ Sellagruppe), the Odle Group (Geisler) AND Sassolungo (Langkofel)!
3. Descent back down the same way (NOT suitable for small kids and dogs)
Of all the parts of this hike and via ferrata, this is the part that proved most complicated for me.
Especially on the first part of the descent, from the cross back to the cabled section, make sure you keep your weight back (in other words don’t lean forward) and use a heel-toe technique, firmly planting your heels into the ground and testing loose rocks before transferring all your weight. The descent to Rifugio Jimmy takes about 40 minutes and then another 20 minutes from there to get back to the Rifugio Frara parking.
Before leaving we spent another couple hours at Rifugio da Jimmy enjoying a scrumptious lunch, divine views, and some good-ole mountain napping : )
Where to Stay near Gran Cir
Where you stay near Gran Cir will depend on how much time you’re planning to spend in the Val Gardena area. Are you planning on spending a lot of time in Val Gardena with a sole base moving around each day? Or are you looking for an accommodation that is right at the foot of this hike? For help deciding on how much time to allocate and how many accommodations to book, check my Complete Guide on How to Plan a Trip to the Dolomites.
Here below I’ve listed a couple options according to their budget and vicinity. I haven’t personally stayed in these accommodations, but I thoroughly research each hotel and only recommend those that I would happily book for us as well. (When we hiked Gran Cir, we stayed rather far at Pension Fellis, an hour’s drive from Passo Gardena).
Luxury – Kolfuschgerhof Mountain Resort & Spa
Colfosco – 15 min drive from trailhead
With panoramic terraces and luxurious lounging areas, the spa and wellness center at this beautiful hotel needs no introduction! Enjoy gourmet meals, live soft music and unforgettable views.
Low/Midrange – Hotel Cir
Passo Gardena – literally on the trail
If you’re looking for the closest option, this modest hotel is situated right on the trail. It’s not fancy but offers room and board and allows you to get on the trails super early to beat the crowds!
Budget – B&B Appartments Cudlea
Selva di Val Gardena – 15 min drive from trailhead
If you find availability here, you’re in luck. These charming rooms come with a great breakfast AND indoor parking. This is a great option if you’re thinking of taking the Dantercepies cable car into Gran Cir – only a 4-min drive to the lift!
So there it is guys, my ultimate guide to climbing the Gran Cir via ferrata– I hope it will be useful! If I missed something or if I didn’t answer your question, please feel free to contact me or comment below and I will do my best to help you.
Please remember to always be cautious when hiking in the mountains, especially when embarking on a via ferrata. If you’re not experienced, always head out with an experienced guide and only allow them to fasten your climbing harness and lanyard.
Hope to see you on the trails in South Tyrol… and don’t forget to follow along on my adventures at @ladolcefitvita!
Buona Ferrata! Have a great Via Ferrata!
Find more inspiration for your holiday in the Dolomites here:
- 10 Stunning Places to Visit in the Dolomites
- Hiking to the Edge of the World: The Seceda Ridgeline
- Lago di Carezza: Beautiful Lake Loop Walk Suitable for Small Kids
- Adolf Munkel Trail – Stunning & Easy Hike Along the Odle Mountains
- Stunning Emerald Lago di Braies – the Most Instagrammed Lake in Italy
- Discover this Off-the-beaten Path Stunning Alpine Lake – Lago di Dobbiaco
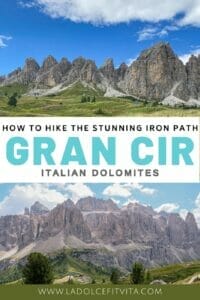
Pin Me for Later!
This blog post is intended for general informational and educational purposes only. Please read my full disclosure for further information.
Leave a Reply